Demo Walkthrough
Prereqs
See setup. Before attempting the walkthrough you should run this script:
${DEMO_HOME}/scripts/prepare-demo.shIf the script ran successfully, you should see the following output:
NAME            STATUS   AGE
operator-test   Active   55s
namespace "operator-test" deleted
customresourcedefinition.apiextensions.k8s.io "appops.org.mhildenb.operatortutorial" deleted
namespace/operator-test created
Context "minikube" modified.
customresourcedefinition.apiextensions.k8s.io/appops.org.mhildenb.operatortutorial created
deployment.apps/demo-app created
Waiting for deployment "demo-app" rollout to finish: 0 of 1 updated replicas are available...
deployment "demo-app" successfully rolled out
demo-app successfully deployed
namespace/demo-operator unchanged
serviceaccount/demo-operator created
clusterrolebinding.rbac.authorization.k8s.io/operator-admin configured
deployment.apps/demo-operator created
Waiting for deployment "demo-operator" rollout to finish: 0 of 1 updated replicas are available...
deployment "demo-operator" successfully rolled out
demo-operator successfully deployed
Terminal Setup
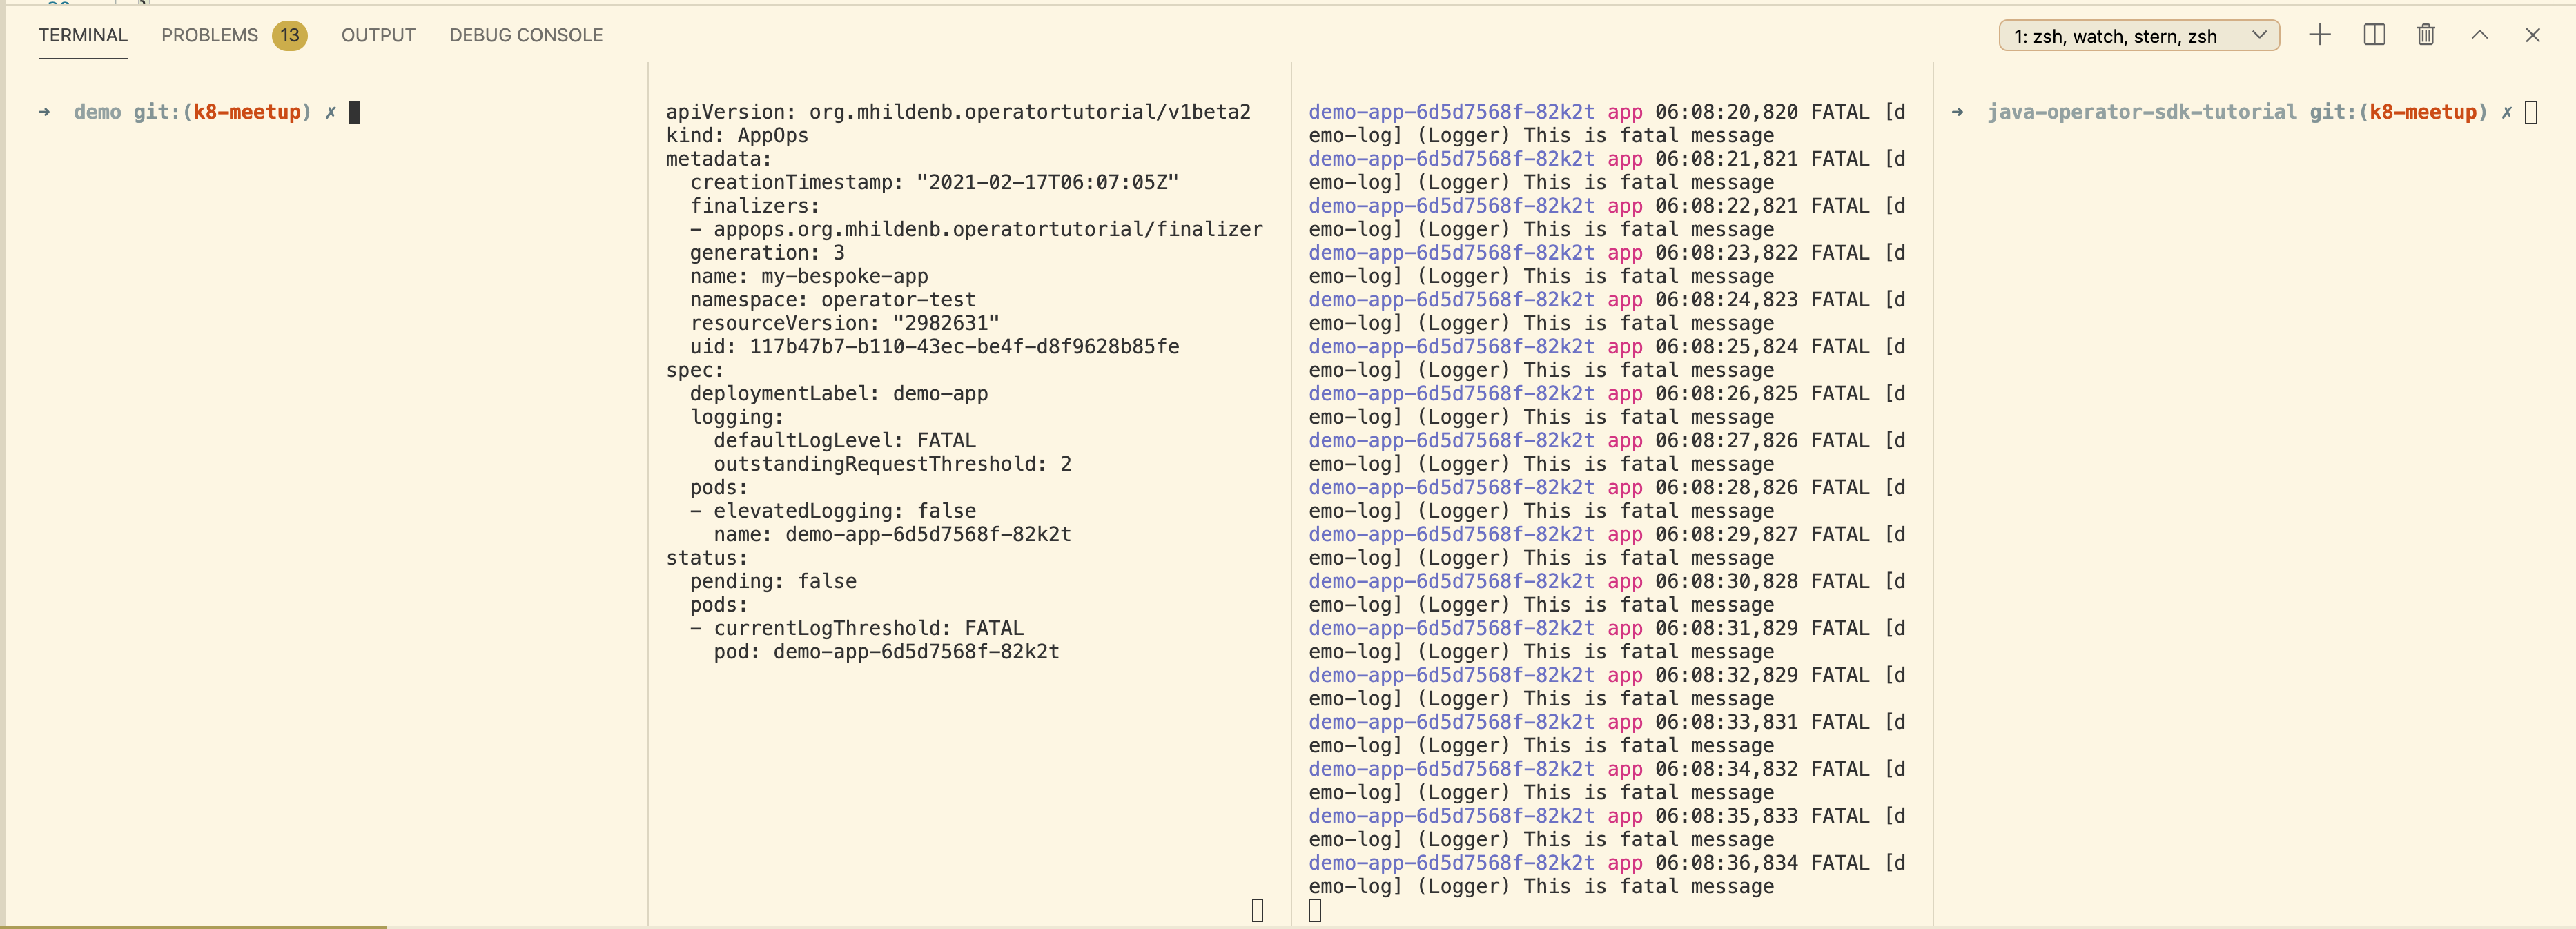
For this demo VSCode is assumed. Make sure you have 4 terminals all with a kubernetes context pointing to the namespace operator-test. Click the tabs below to see information about each terminal and any initial commands that need to be run
Terminal one will be used for running local build commands and will be particularly important if showing a locally running build
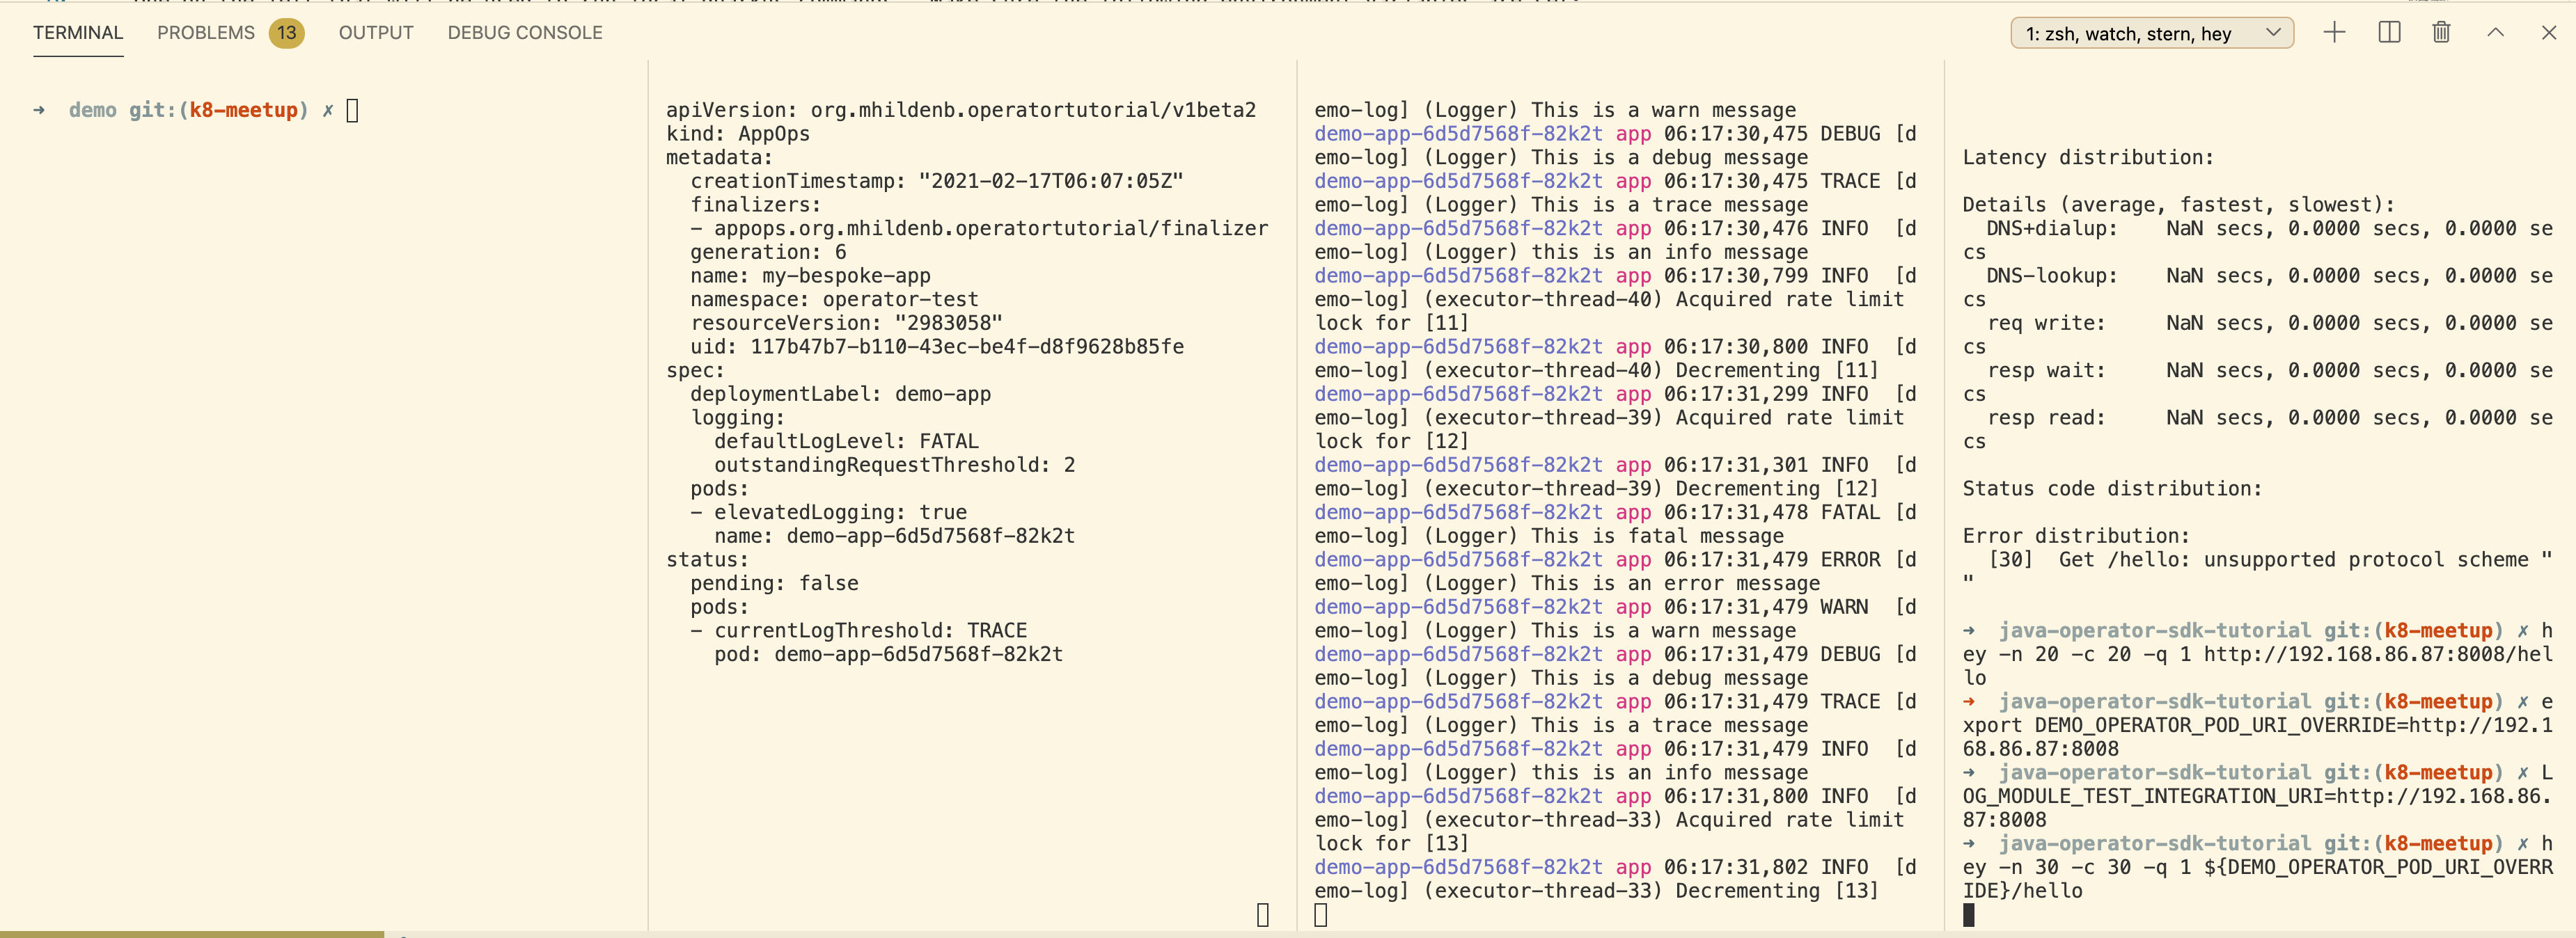
Terminal 2 will be our CR watch window. This is where we’ll see updates to our CustomResource.
Run the following command to get it started:
# watch updates every second with this command
watch -t -d -n 1 -x -- kubectl patch appops/my-bespoke-app -o yaml --type='json' -p='[{"op": "remove", "path": "/metadata/managedFields" }, {"op": "remove", "path": "/metadata/annotations" } ]' --dry-run=client
The third terminal should be running the logs of the application (which will initially be more verbose than specified in the AppOps custom resource.
Run the following command to get this terminal ready:
# start logging the demo app
stern demo-app --since=1s -n operator-test
The fourth terminal is used for issuing k8 commands
When you’ve finished, your terminals should look something like this (though the content will not be the same at this point)
Demo 1: Intro to the application
-
Make a call to the hello endpoint
curl ${DEMO_OPERATOR_POD_URI_OVERRIDE}/hellohello% -
Next show terminal 3’s logs and how its logging at a
INFOlevel -
Show our app’s AppOps in vscode by opening
appops-crd.yamlquickly -
In the 4th terminal, show that the demo operator is running
kubectl get deploy/demo-operatorNAME READY UP-TO-DATE AVAILABLE AGE demo-operator 1/1 1 1 8m
-
Explain that the watch window, terminal 2 is watching the CR we’re about to create
kubectl apply -f ${DEMO_HOME}/demo/kube/myapp-cr.yaml -
Once the CR is applied, you should see the watch window change and the logging get less verbose
Demo 2: Show Operator Responding to Site Load
Demo 3: Run the operator in the debugger to show how it works
To run this demo you will need to run some setup first
-
First setup your environment accordingly
-
Remove the operator from the cluster
-
Run the following to start the app running locally
-
the
-Dsuspendmeans that the operator will not move on until you connect the debuggerBefore demonstrating in the debugger make sure:
-
Number of pods is set to 0
-
DEMO_OPERATOR_POD_URI_OVERRIDE=http://192.168.86.87:8008
-